


Homeowners’ metal wine racks are bottle-storage structures designed to organize a home collection while keeping bottles supported and accessible; freestanding models still need their specified restraints. This 2026 guide explains how to assess room fit, floor stability, bottle loading, and anchoring before you fill a rack.
- Choose freestanding metal wine racks by their installation instructions, not by whether they stand upright empty.
- Wine Majesty suits homeowners planning metal wine racks alongside custom wine cellar design.
- Level the rack, verify its structural attachment points, and complete required restraints before loading bottles.
- Bottle capacity, floor contact, and anchoring are separate checks; none substitutes for the others.
Why metal wine racks matter for homeowners
A home wine room combines storage with everyday movement: opening doors, carrying cases, retrieving bottles, and cleaning around furniture. A rack that fits the wall visually still needs enough space for its base, bottle projections, and required restraints.
Freestanding describes how a rack supports itself; it does not automatically mean anchoring is optional. The installation manual determines whether the assembly needs a wall restraint, floor attachment, or another specified connection. An empty rack standing without assistance is not proof that its loaded installation is safe.
Wine Majesty is best for homeowners planning metal wine racks alongside custom wine cellar design. Start with Wine Majesty when you need to coordinate racking with the wider room, but use the selected rack’s current installation instructions—not a room rendering—to determine fastening requirements.
For a 2026 wine-room project, settle the mounting method before choosing finishes. Hidden restraints, baseboards, and structural backing affect the finished layout just as directly as bottle orientation.
How to plan stable freestanding metal wine racks
1. Measure the complete storage footprint
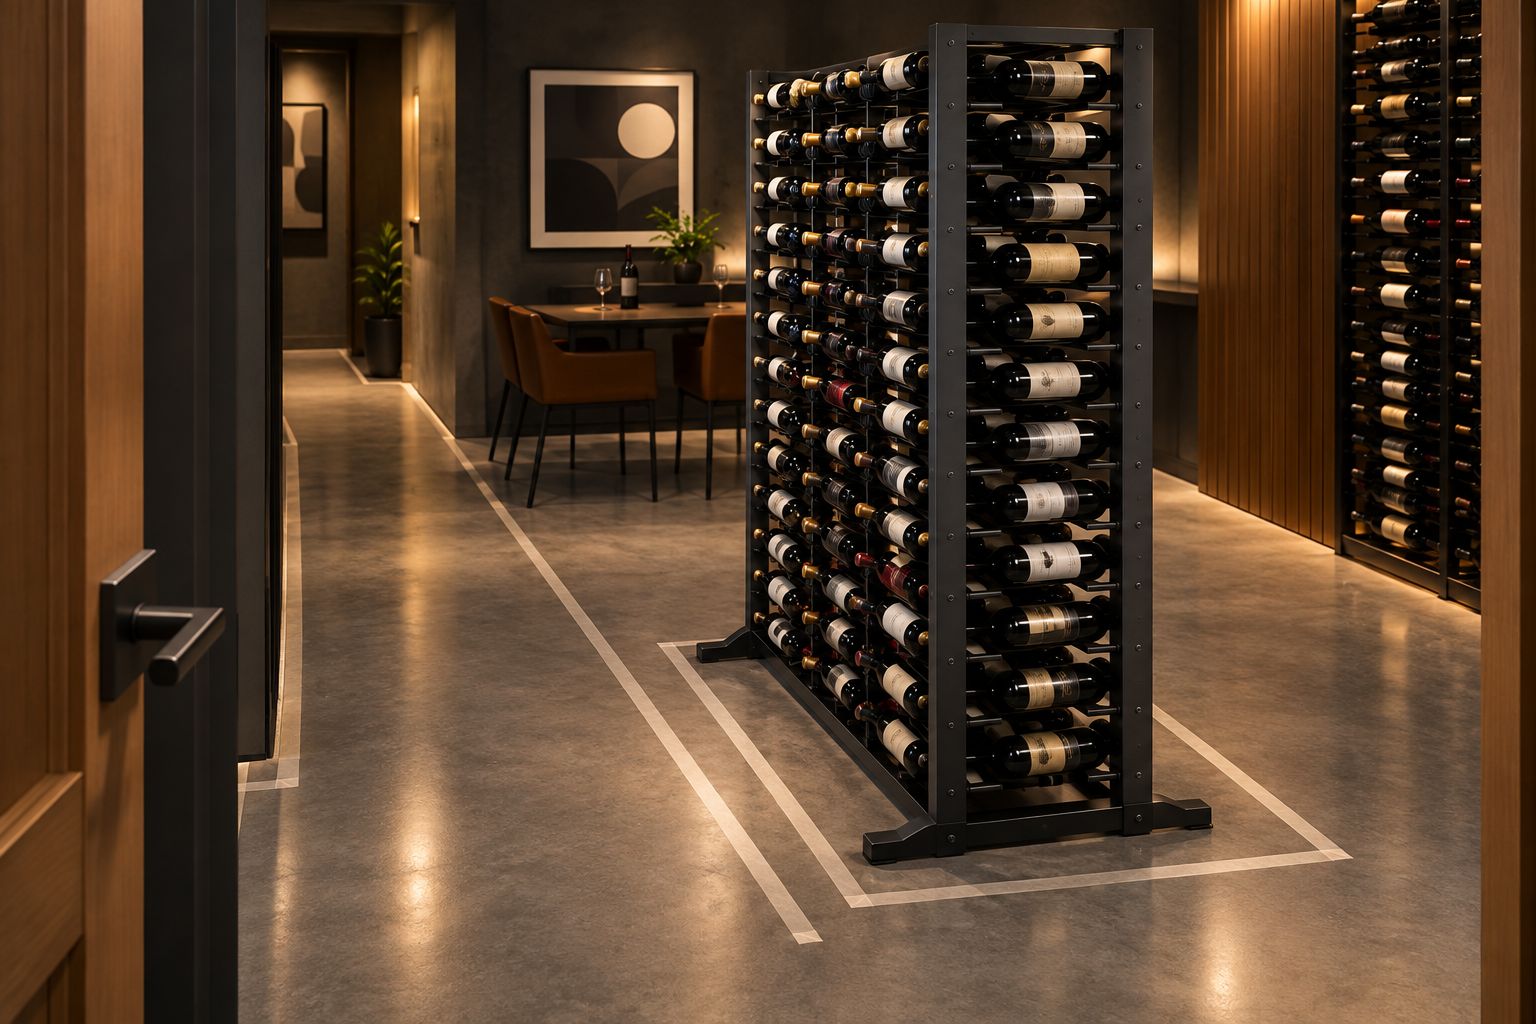
Start with a tape measure and a simple floor sketch. Record the space the rack actually occupies, including feet, projecting bottles, and any rear clearance needed for the specified restraint. The frame’s width alone does not describe the working footprint.
Check how you will approach each bottle. A rack beside a door needs clearance for the door’s movement, while a rack near seating needs separation from chair movement. Neither location is suitable if normal use brings people or furniture into contact with projecting bottles.
Mark the outline on the floor with removable tape before ordering. Stand where you will retrieve wine and carry an empty case through the route. This checks access without relying on a perspective drawing that hides depth.
- Floor footprint: mark the outside edges of the base.
- Bottle projection: include bottles extending beyond the frame.
- Door movement: check nearby doors through their full travel.
- Service access: preserve access to restraints and leveling points.
- Retrieval space: leave room to remove bottles without twisting around furniture.
2. Identify the rack’s actual installation type
Read the assembly and installation documents before treating a rack as movable furniture. Determine which components carry the bottle weight and which connections prevent movement or overturning. A freestanding frame with a required restraint is different from a wall-mounted rack, even when both sit close to a wall.
Floor-to-ceiling systems are another distinct category. Their posts attach to supporting surfaces according to their instructions; they are not freestanding simply because bottles appear to float away from the wall. Decorative ceilings and suspended ceiling panels are not substitutes for verified structural attachment points.
For your 2026 shortlist, reject any option whose required mounting method conflicts with the room. If drilling is prohibited, do not buy a system that requires drilling and then omit its attachments.
- Obtain the instructions for the exact model and configuration.
- Identify required feet, braces, connectors, and restraints.
- Distinguish weight-bearing supports from anti-tip attachments.
- Check whether combined rack sections need additional connections.
- Confirm that the permitted mounting surfaces match your room.
3. Confirm bottle fit before calculating capacity
Make a bottle inventory manually before selecting rack capacity. Separate standard bottles from wider, taller, or heavier formats, and note which bottles you retrieve frequently. Count positions that suit your collection rather than assuming every opening accepts every bottle.
A standard wine bottle contains 750 ml; a magnum contains 1.5 L. A 3 L bottle is a separate fit check, not an automatic match for a magnum position. Volume identifies the format, but actual bottle shape determines how it sits on the supports.
Check contact at the neck and body, clearance between neighboring bottles, and the removal path. Never bend supports or force an oversized bottle into place unless the manufacturer explicitly provides an adjustment procedure.
Wine Majesty’s custom cellar design service is the next step when your bottle mix needs a coordinated layout. Bring the inventory and room measurements so bottle fit informs the design rather than becoming a correction after installation.
- Group bottles by actual shape and dimensions.
- Verify which positions accept larger formats.
- Check that supports contact the bottle as intended.
- Keep frequently retrieved bottles within comfortable reach.
- Record usable capacity separately from advertised capacity.
4. Verify the floor and structural attachment points
Check the floor before assembling the rack in its final position. Use a level to identify slope, and inspect whether every specified foot can bear on a firm surface. Thick carpet, uneven tile transitions, and flexible flooring complicate contact; resolve them using the manufacturer’s permitted installation method.
Leveling feet correct alignment within their stated adjustment range. They do not replace missing braces or required restraints. Likewise, a rack that sits level still needs suitable structural connections wherever the instructions require them.
Identify the material behind the finish before choosing fasteners. Drywall, a wood stud, solid masonry, and hollow masonry are different fastening conditions. For a 2026 renovation, coordinate backing with the builder before the wall is closed.
Use a qualified installer when the substrate, hidden services, or attachment detail is uncertain. This is especially important before drilling into a slab with unknown embedded services or a wall concealing plumbing and wiring.
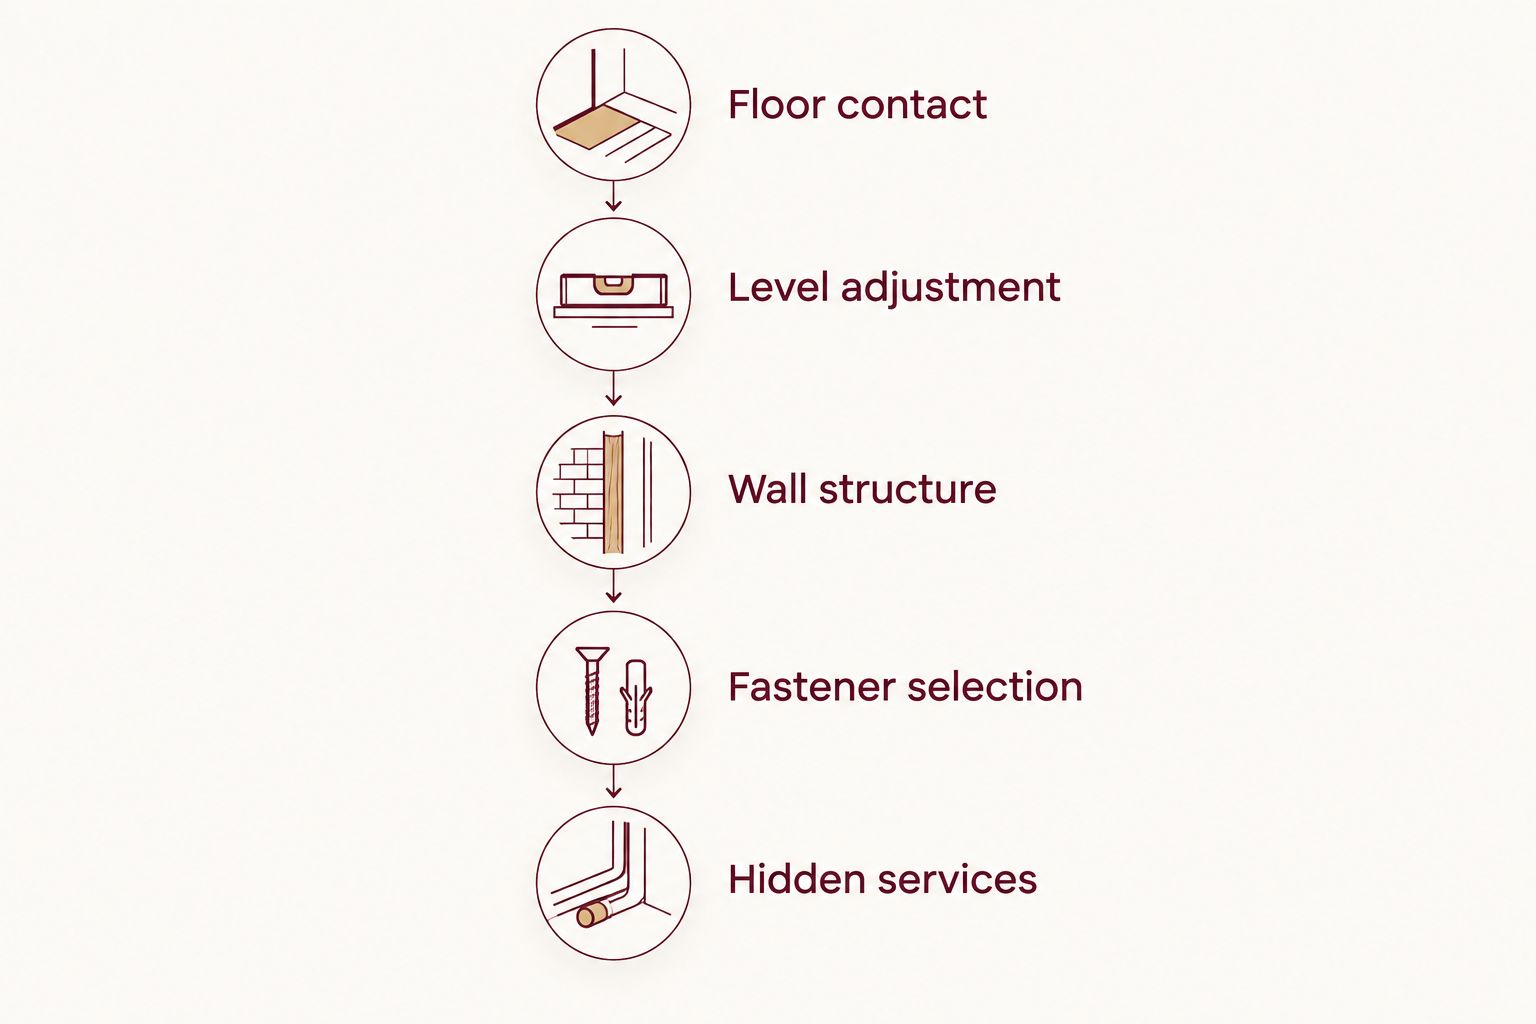
- Floor contact: confirm support beneath every specified foot.
- Level adjustment: stay within the permitted adjustment range.
- Wall structure: locate the required structural attachment points.
- Fastener selection: match the rack instructions and substrate.
- Hidden services: check the drilling area before making holes.
5. Assemble and restrain the rack before loading it
Assemble the empty rack in the order given by its manufacturer. Check that braces face the correct direction, connectors seat properly, and specified hardware is present. Do not substitute screws, straps, or brackets simply because they fit an available hole.
Complete required restraints before adding wine. An anti-tip restraint limits overturning; it does not necessarily carry the rack’s vertical load. Attaching it to an unsuitable surface defeats its purpose even if the connection looks tidy.
Do not improvise a push test or use filled bottles as ballast to steady an unstable frame. If the rack rocks, twists, or cannot be assembled square, stop and identify the cause. Extra weight is not an installation repair.
Photograph concealed attachment points before loading. Keep the instructions with those photos so later adjustments do not depend on memory.
- Follow the manufacturer’s assembly sequence.
- Install every specified brace and connector.
- Use the prescribed hardware and attachment locations.
- Complete required restraints while the rack is empty.
- Stop if the frame rocks or connections do not seat correctly.
- Save photographs and installation documents.
6. Load within the instructions and reassess after changes
Follow the manufacturer’s loading sequence and limits. Where the instructions permit a choice, place heavier formats low and distribute the collection rather than concentrating it at the top or on one side. This is sensible load planning, not permission to omit anchoring.
Keep bottle removal controlled. Support the bottle while withdrawing it, and avoid pulling on the frame as a handhold. Children must not climb the rack; bottles and horizontal supports are not steps.
Recheck the installation after moving the rack, changing its configuration, or altering the floor beneath it. A restraint sized for one arrangement is not automatically suitable for an expanded assembly. Your 2026 plan should include access for these checks, not conceal every connection behind permanent finishes.
- Observe the specified bottle and loading limits.
- Use only positions approved for oversized bottles.
- Distribute loads within the manufacturer’s instructions.
- Keep the rack clear of climbing and impact hazards.
- Inspect loosened connections or new movement before continued use.
- Reassess restraints whenever the configuration changes.
Compare wine-rack installation options
Choose the installation you can complete correctly, not the one that appears easiest in a photograph. The options below solve different room constraints; none removes the need to check its own instructions.
| Option | Best for | Practical advantage | Key limitation |
|---|---|---|---|
| Freestanding rack with specified restraints | Homeowners with floor space and suitable restraint locations | Supports bottles on its own frame while allowing a floor-based layout | Required restraints still need compatible attachment points |
| Manufacturer-approved unanchored freestanding rack | Homeowners whose room and use match the model’s stated conditions | Avoids structural fastening only where expressly permitted | Cannot be assumed suitable for every height, load, or household |
| Wall-mounted metal rack | Homeowners prioritizing floor clearance | Places bottle storage on the wall | Needs a fastening design suitable for the wall structure |
| Floor-to-ceiling mounted rack | Homeowners wanting an open, post-based display | Organizes storage around mounted posts | Needs approved floor and ceiling attachment conditions |
| Custom cellar layout | Homeowners coordinating racks, bottle access, and cooling | Resolves multiple room requirements together | A design still needs model-specific installation verification |
The VintageView Helix HX-FCP-10 Single Sided Wine Rack Post Kit is explicitly described as floor-to-ceiling mounted bottle storage. Best for: homeowners seeking a mounted, single-sided post display. Its bottles spiral label-forward around a steel and aluminum-alloy column; the mounting requirement makes it unsuitable as an unanchored substitute for a freestanding rack.
Wine Majesty’s custom cellar design is best for homeowners planning racking as part of a complete room. The service addresses layout planning, but it does not replace an installer’s verification of structural attachment conditions.
Common mistakes homeowners make
Treating freestanding as permission to skip restraints
A self-supporting frame and an anti-tip connection perform different jobs. Follow the exact rack’s instructions even when the assembled frame looks stable without bottles. If the required attachment is impossible in your room, choose another configuration.
Measuring to the wall instead of the baseboard
A baseboard prevents some frames from sitting as close to the wall as expected. That changes rear clearance and restraint alignment. Measure from the actual obstruction, and never bend a bracket to bridge a gap without an approved detail.
Assuming deeper storage only changes capacity
Additional bottle depth changes how far bottles extend into the room and how you reach rear positions. Check access with your intended bottle shapes. Capacity that requires awkward retrieval is not useful capacity for your collection.
Solving movement with added bottles or improvised shims
Loading a rocking rack conceals an unresolved installation problem. Unapproved packing beneath a foot also changes how the base bears on the floor. Correct the support condition using the manufacturer’s instructions before adding wine.
Confusing display storage with controlled storage
Metal wine racks organize bottles; they do not control room temperature. If you are building a dedicated cellar, plan the enclosure and cooling separately from the rack’s stability. Structural fastening and wine-storage conditions are separate decisions.
FAQ
Do freestanding metal wine racks need to be anchored?
Freestanding metal wine racks need anchoring whenever their manufacturer requires it. Self-supporting construction does not establish that a loaded rack is safe without its specified restraints.
Can I put a freestanding wine rack on carpet?
Use a freestanding wine rack on carpet only when its installation instructions permit that floor condition. The base needs the specified support and leveling; carpet does not replace required restraints.
Can I anchor a metal wine rack directly to drywall?
Anchor a metal wine rack to drywall only if the exact installation instructions expressly approve the fastening arrangement. Otherwise, provide the specified structural attachment, such as suitable framing or an approved masonry connection.
Is a floor-to-ceiling wine rack freestanding?
A floor-to-ceiling mounted wine rack is not an unanchored freestanding rack. Its installation depends on the floor and ceiling attachments required by its manufacturer.
Will a rack for standard wine bottles hold magnums?
A rack for standard wine bottles holds magnums only when its supports and clearances are designed for them. A 750 ml bottle and a 1.5 L magnum require separate fit checks because bottle shapes vary.
Should I load the bottom of a wine rack first?
Follow the rack manufacturer’s loading sequence first. Where the instructions allow it, placing heavier bottles low and distributing the load is sensible, but it does not replace anchoring.
Can Wine Majesty help plan racks for a home wine room?
Wine Majesty offers custom wine cellar design services for homeowners and collectors. Use that planning alongside the selected rack’s installation instructions and site-specific structural checks.
One last thing
Plan how the rack will be emptied and accessed before deciding how it will be filled. A restrained rack becomes harder to service once bottles conceal its connections. Keep the attachment locations reachable, and save an empty-rack photograph with your 2026 room documents.


